
Igibgo 开发经历与踩坑实录
Postgresql 中文全文搜索
9/14
我 video表因为会有通过title搜索视频的功能,所以我需要postgresql的全文搜索,而我的video title同时可能会有中文和英文。首先我要装两个插件:
CREATE EXTENSION IF NOT EXISTS pg_trgm;
CREATE EXTENSION IF NOT EXISTS zhparser;
这当中 zhparser就是中文分词的postgresql插件,我需要在系统里安装好之后再执行上面的sql。
Docker 内Postgresql apt 下载安装问题
因为我的postgresql是在docker里面的,所以我需要在docker里面装 zhparser。发现到docker里的系统是 debian 11,我使用了apt update。但是源里只有postgresql的源而没有普通的repo。所以我想 vim /etc/apt/sources.list,但是发现不仅没有vim,vi 也没有nano。我只能通过 cat来操作:
cat << EOF > /etc/apt/sources.list
deb https://mirrors.tuna.tsinghua.edu.cn/debian/ bullseye main contrib non-free
# deb-src https://mirrors.tuna.tsinghua.edu.cn/debian/ bullseye main contrib non-free
deb https://mirrors.tuna.tsinghua.edu.cn/debian/ bullseye-updates main contrib non-free
# deb-src https://mirrors.tuna.tsinghua.edu.cn/debian/ bullseye-updates main contrib non-free
deb https://mirrors.tuna.tsinghua.edu.cn/debian/ bullseye-backports main contrib non-free
# deb-src https://mirrors.tuna.tsinghua.edu.cn/debian/ bullseye-backports main contrib non-free
deb https://mirrors.tuna.tsinghua.edu.cn/debian-security bullseye-security main contrib non-free
# deb-src https://mirrors.tuna.tsinghua.edu.cn/debian-security bullseye-security main contrib non-free
EOF
添加了清华源(虽然这个也挺慢的,但是比官方好)。
但是这样后 apt update还是报错:
apt update
Err:1 https://mirrors.tuna.tsinghua.edu.cn/debian bullseye InRelease
  Certificate verification failed: The certificate is NOT trusted. The certificate issuer is unknown.  Could not handshake: Error in the certificate verification. [IP: 101.6.15.130 443]
Err:2 https://mirrors.tuna.tsinghua.edu.cn/debian bullseye-updates InRelease
  Certificate verification failed: The certificate is NOT trusted. The certificate issuer is unknown.  Could not handshake: Error in the certificate verification. [IP: 101.6.15.130 443]
Err:3 https://mirrors.tuna.tsinghua.edu.cn/debian bullseye-backports InRelease
  Certificate verification failed: The certificate is NOT trusted. The certificate issuer is unknown.  Could not handshake: Error in the certificate verification. [IP: 101.6.15.130 443]
Err:4 https://mirrors.tuna.tsinghua.edu.cn/debian-security bullseye-security InRelease
  Certificate verification failed: The certificate is NOT trusted. The certificate issuer is unknown.  Could not handshake: Error in the certificate verification. [IP: 101.6.15.130 443]
Get:5 http://apt.postgresql.org/pub/repos/apt bullseye-pgdg InRelease [129 kB]
证书的问题,那我只能把 https改成 http了,执行操作:
sed -i 's|https://|http://|g' /etc/apt/sources.list
然后再 apt update, 就可以了。
安装好 vim wget git,按照 zhparser的github指示来就好了。amutu/zhparser: zhparser is a PostgreSQL extension for full-text search of Chinese language (github.com)。这边拷贝一份(可能过期):
wget -q -O - http://www.xunsearch.com/scws/down/scws-1.2.3.tar.bz2 | tar xfj -

cd scws-1.2.3 ; ./configure ; make install

注意:在FreeBSD release 10及以上版本上运行configure时,需要增加--with-pic选项。

如果是从github上下载的scws源码需要先运行以下命令生成configure文件:

touch README;aclocal;autoconf;autoheader;libtoolize;automake --add-missing
git clone https://github.com/amutu/zhparser.git
make && make install
注意安装依赖:
apt install -y bzip2 postgresql-server-dev-14 build-essential libxml2-dev
大功告成。
回到IDEA,设置一下:
CREATE TEXT SEARCH CONFIGURATION chinese (PARSER = zhparser);
ALTER TEXT SEARCH CONFIGURATION chinese
    ADD MAPPING FOR n,v,a,i,e,l,t WITH simple;


ALTER TABLE video ADD COLUMN title_tsv tsvector;
UPDATE video SET title_tsv = to_tsvector('chinese', title);
CREATE INDEX video_title_tsv_idx ON video USING GIN(title_tsv);
这边给 video表加了一个 title_tsv,看看效果:

如果要在创建表的时候进行操作,则可以在 create table里这么写:
create table note
(
	...
    title         text      not null,
    title_tsv     tsvector generated always as ( to_tsvector('chinese', title) ) stored
);
然后创建索引(非必须):
create index title_tsv_idx on note using gin(title_tsv)
后端的使用
VideoMapper里大概长这样:
// search by title
// websearch_to_tsquery('chinese', :videoTitle) is a function to convert the search string to tsquery, only postgresql 11+ support
    @Query(value = "SELECT v.* FROM video v WHERE v.title_tsv @@ websearch_to_tsquery('chinese', :videoTitle)" +
            "order by ts_rank(v.title_tsv, websearch_to_tsquery('chinese', :videoTitle)) desc",// rank by relativity
            countQuery = "SELECT COUNT(*) FROM video v WHERE v.title_tsv @@ websearch_to_tsquery('chinese', :videoTitle)",
            nativeQuery = true)
    Page<Video> searchByTitle(String videoTitle, Pageable pageable);
}
counter queryGPT的解释是:This is necessary for native queries to calculate the total number of results for pagination.nativeQuery是让这一段变成SQL而不是JPQL@@GPT说:This is the full-text search match operator in PostgreSQL.
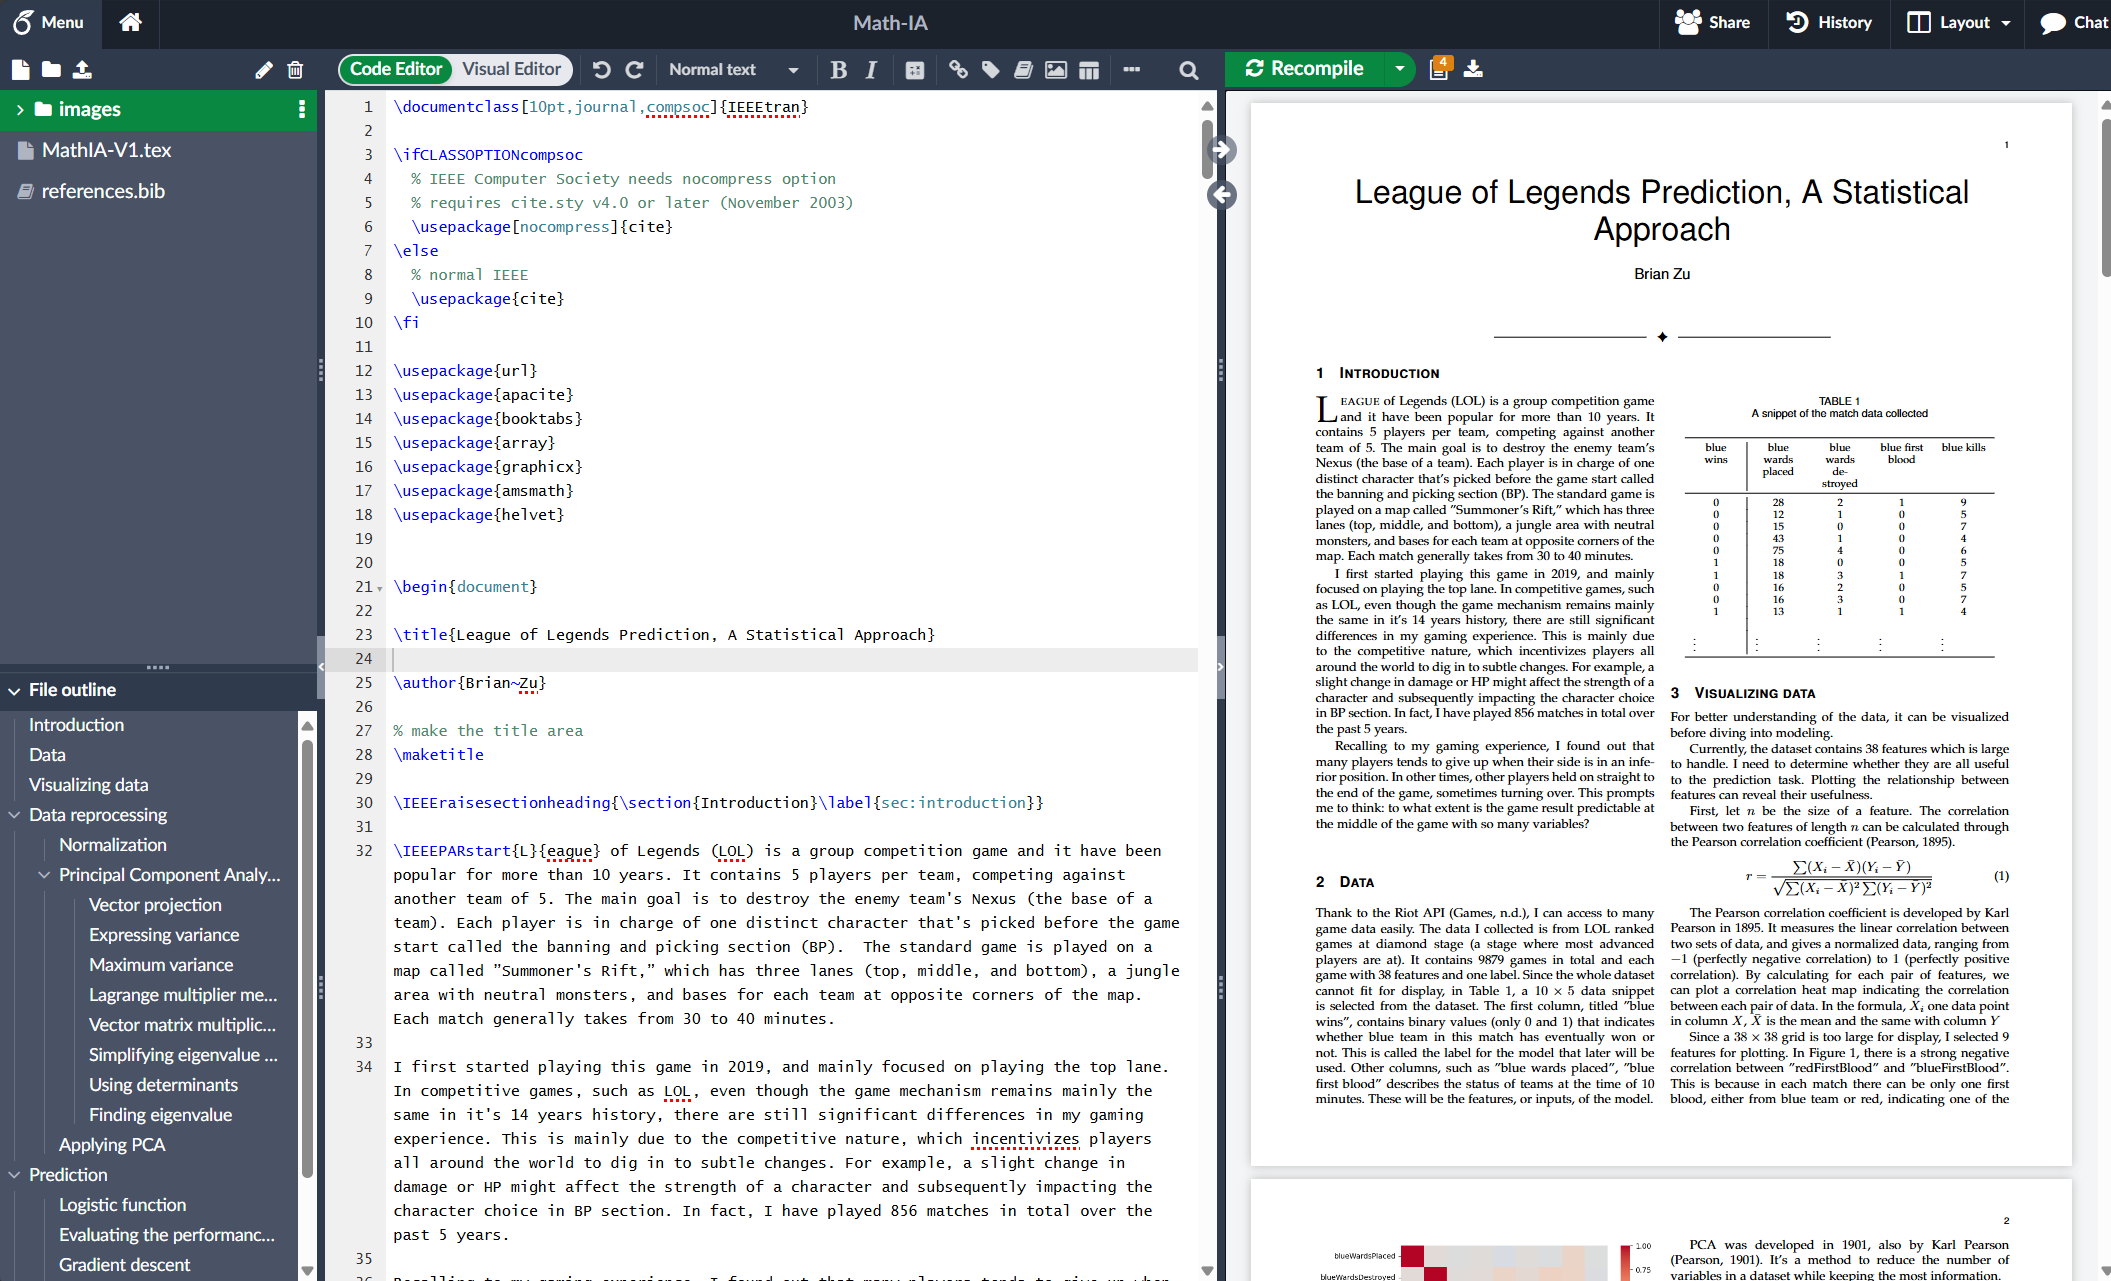
测试成功!
将全流程打包成docker容器
Docker 打包
9/25
Docker 打包到部署总体流程:
- 撰写
Dockerfile - 编译打包:
docker build -t imagename:version .
- 然后将其推到容器镜像服务(这里使用阿里云)容器镜像服务 (aliyun.com),按照里面的步骤来。这里拷贝一份:
docker login --username=chixiyu registry.cn-hangzhou.aliyuncs.com

# 将镜像推送到Registry
docker login --username=chixiyu registry.cn-hangzhou.aliyuncs.com
docker tag [ImageId] registry.cn-hangzhou.aliyuncs.com/friedforks/igibgo-backend:[镜像版本号]
docker push registry.cn-hangzhou.aliyuncs.com/friedforks/igibgo-backend:[镜像版本号]

# 从Registry中拉取镜像 (服务端)
docker pull registry.cn-hangzhou.aliyuncs.com/friedforks/igibgo-backend:[镜像版本号]
- 通过
docker-compose.yml来部署
注意,docker-compose.yml中如果容器要互通,需要配置一个网络,这里叫他 igibgo_network。
docker network create igibgo_network
然后在需要共通的容器的 docker-compose.yml里写(这里用前端的 docker-compose来举例,关键是 network部分:
version: '3'
services:
  #igibgo-frontend 是我的服务的名字,之后有用
  igibgo-frontend:
    image: registry.cn-hangzhou.aliyuncs.com/friedforks/igibgo-frontend:v1
    container_name: igibgo-frontend
    ports:
      - "9000:80"
    restart: always
    # 使用我们的igibgo_network
    networks:
      - igibgo_network

# 网络这里定义
networks:
  igibgo_network:
    external: true
注意,在一个容器A连接容器B,比如有其他服务使用了 igibgo_frontend,那么连接的URL是:
igibgo-frontend:port
这里的 port不是 external port,上面所开放的9000,而是本身自己的 port,应该是80。所以在这个例子中是:
igibgo-frontend:80
这样子连接。
Dokcer 打包前端
我的前端用的是 React,我通过以下 Dockerfile来打包:
FROM node:18 AS build

WORKDIR /app

COPY package*.json ./

RUN npm install

COPY . .

RUN npm run build

FROM nginx:latest

COPY --from=build /app/dist /usr/share/nginx/html
COPY nginx.conf /etc/nginx/conf.d/default.conf

EXPOSE 80

CMD ["nginx", "-g", "daemon off;"]
注意,这边需要**自定义 nginx.conf**文件,不然会出现可能是 react-router-dom导致的404问题。
nginx.conf:
server {
    listen 80;
    location / {
        root /usr/share/nginx/html;
        index index.html index.htm;
        try_files $uri $uri/ /index.html;
    }
}
docker-compose.yml
version: '3'
services:
  igibgo-frontend:
    image: registry.cn-hangzhou.aliyuncs.com/friedforks/igibgo-frontend:v1
    container_name: igibgo-frontend
    ports:
      - "9000:80"
    restart: always
    networks:
      - igibgo_network

networks:
  igibgo_network:
    external: true
Docker打包后端
后端用的springboot。Dockerfile:
FROM azul/zulu-openjdk:21-latest

WORKDIR /app

COPY target/*.jar app.jar

RUN mkdir /tmpdir

EXPOSE 8001

ENTRYPOINT [ "java","-jar","/app/app.jar" ]
docker-compose.yml:
version: '3'
services:
  igibgo-backend:
    image: registry.cn-hangzhou.aliyuncs.com/friedforks/igibgo-backend:v2
    container_name: igibgo-backend
    environment:
      SPRING_DATASOURCE_URL: jdbc:postgresql://postgres_db:5432/igibgo?useUnicode=true&characterEncoding=UTF-8&serverTimezone=Asia/Shanghai
      SPRING_REDIS_HOST: redis_db
      SPRING_REDIS_PORT: 6379
    ports:
      - "8001:8001"
    restart: always
    networks:
      - igibgo_network

networks:
  igibgo_network:
    external: true
Docker 部署Redis
docker-compose.yml
version: '3'
services:
  igibgo-backend:
    image: registry.cn-hangzhou.aliyuncs.com/friedforks/igibgo-backend:v2
    container_name: igibgo-backend
    environment:
      SPRING_DATASOURCE_URL: jdbc:postgresql://postgres_db:5432/igibgo?useUnicode=true&characterEncoding=UTF-8&serverTimezone=Asia/Shanghai
      SPRING_REDIS_HOST: redis_db
      SPRING_REDIS_PORT: 6379
    ports:
      - "8001:8001"
    restart: always
    networks:
      - igibgo_network

networks:
  igibgo_network:
    external: true
Docker 打包Postgresql
Dockerfile:
# Use the official PostgreSQL image from Docker Hub
FROM postgres:14

# Set environment variables
ENV POSTGRES_DB=igibgo
ENV POSTGRES_PASSWORD=Hellochixiyu07!

COPY init-script.sh /tmp/init-script.sh

RUN chmod +x /tmp/init-script.sh && /tmp/init-script.sh

# Expose the PostgreSQL port
EXPOSE 5432


# Add any additional configuration if needed
# COPY postgresql.conf /etc/postgresql/postgresql.conf

# Set the default command to run when starting the container
CMD ["postgres"]
init-script.sh是用来初始化容器内安装 zhparser插件的:
#!/bin/bash

cat << EOF > /etc/apt/sources.list
deb http://mirrors.tuna.tsinghua.edu.cn/debian/ bullseye main contrib non-free
# deb-src http://mirrors.tuna.tsinghua.edu.cn/debian/ bullseye main contrib non-free
deb http://mirrors.tuna.tsinghua.edu.cn/debian/ bullseye-updates main contrib non-free
# deb-src http://mirrors.tuna.tsinghua.edu.cn/debian/ bullseye-updates main contrib non-free
deb http://mirrors.tuna.tsinghua.edu.cn/debian/ bullseye-backports main contrib non-free
# deb-src http://mirrors.tuna.tsinghua.edu.cn/debian/ bullseye-backports main contrib non-free
deb http://mirrors.tuna.tsinghua.edu.cn/debian-security bullseye-security main contrib non-free
# deb-src http://mirrors.tuna.tsinghua.edu.cn/debian-security bullseye-security main contrib non-free
EOF

apt update

apt install -y wget git bzip2 make postgresql-server-dev-14 build-essential libxml2-dev clang


mkdir /downloads && cd /downloads
wget -q -O - http://www.xunsearch.com/scws/down/scws-1.2.3.tar.bz2 | tar xfj -

cd scws-1.2.3 ; ./configure ; make install

cd ..
git clone https://github.com/amutu/zhparser.git
cd zhparser
make && make install
docker-compose.yml
version: '3'

services:
  postgres_db:
    image: registry.cn-hangzhou.aliyuncs.com/friedforks/postgres_db:v1
    container_name: postgresql
    restart: always
    environment:
      POSTGRES_PASSWORD: Hellochixiyu07!
      POSTGRES_DB: igibgo
    volumes:
      - ./postgres-data:/var/lib/postgresql/data
    ports:
      - "5000:5432"
    networks:
      - igibgo_network

volumes:
  postgres-data:

networks:
  igibgo_network:
    external: true
Docker 部署Overleaf
折腾了半天。首先要 docker换源,因为服务器是腾讯云的,得用腾讯云的镜像源。很搞的一点就是前一整子因为docker官方源被封了,国内厂商开始上嘴脸了(就比如阿里云的源本来都能用,现在我腾讯云的服务器用不了一点了)。
vim /etc/docker/daemon.json
写入:
{
  "registry-mirrors": [
	  "https://mirror.ccs.tencentyun.com"
  ]
}
然后按照这个文章来:服务器部署overleaf-腾讯云开发者社区-腾讯云 (tencent.com)
关键是,文章中的这个:
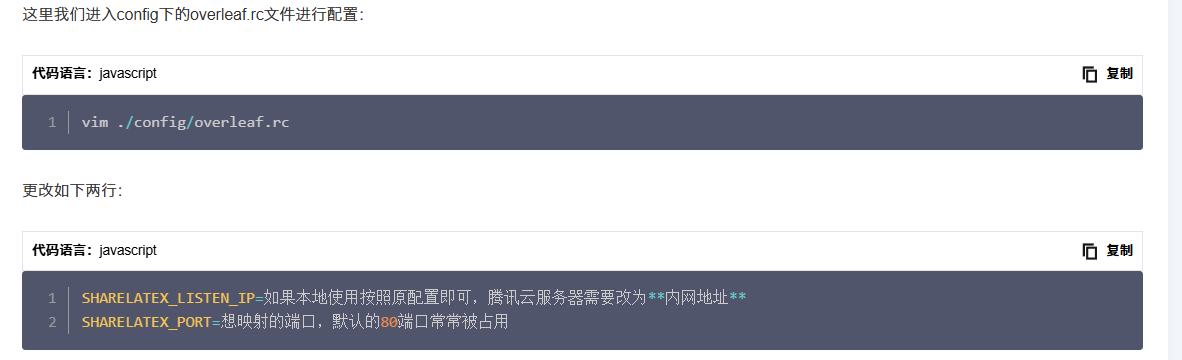
是有问题的,因为我的 overleaf.rc里没有这玩意儿。我想估计是这两行:
OVERLEAF_LISTEN_IP=10.206.0.12
OVERLEAF_PORT=8080
(这是我改完之后的,OVERLEAF_LISTEN_IP 要填腾讯云内网ip)
OK,就跑起来了:
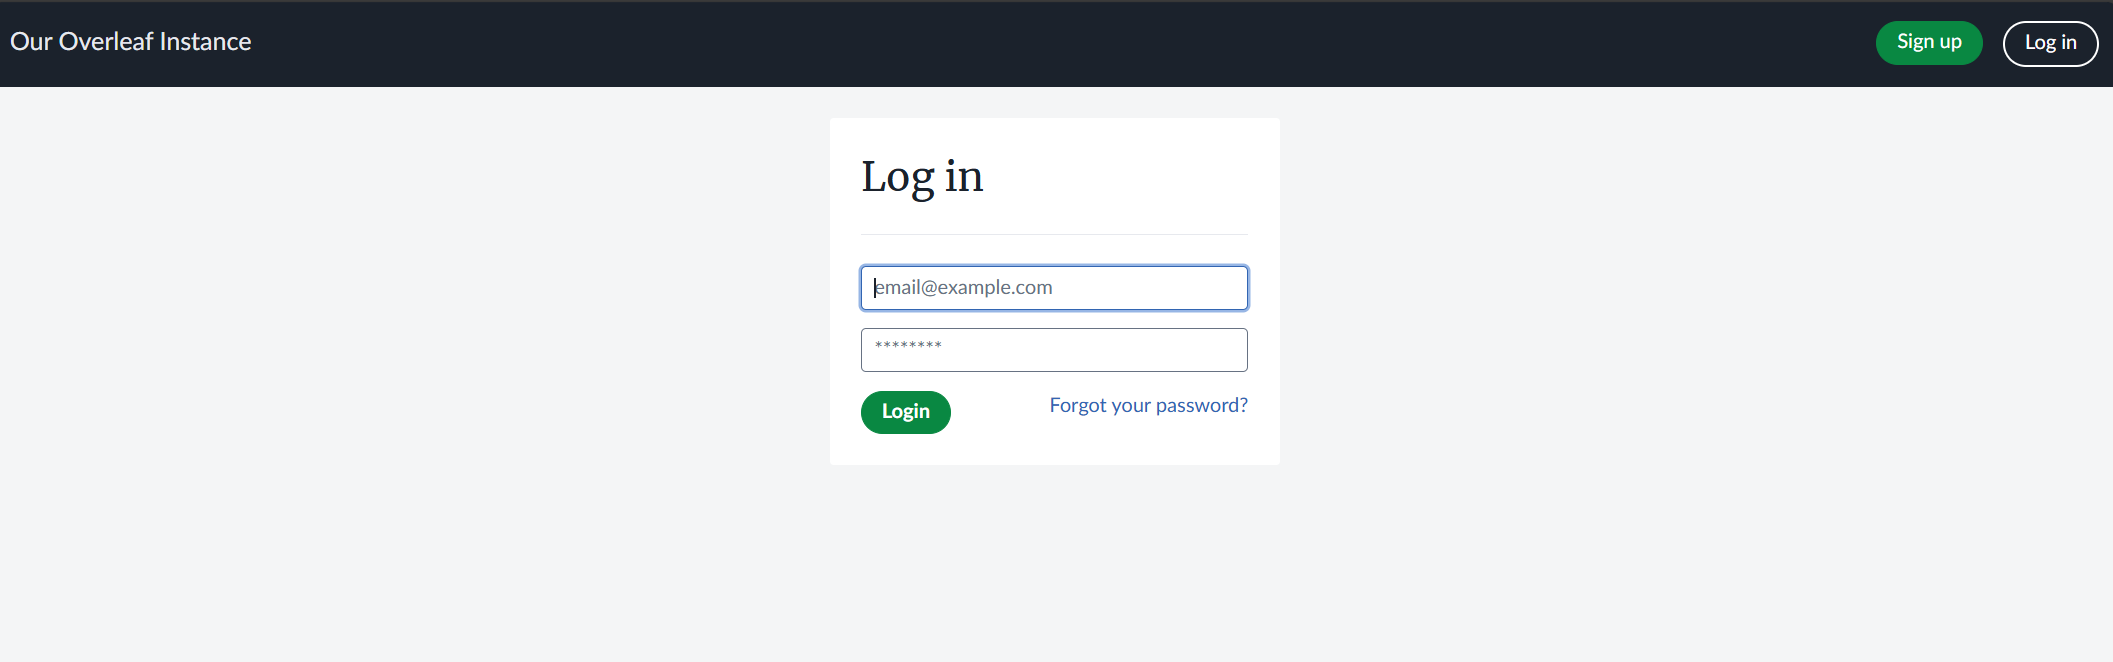
打开 domain:port/launchpad, 注册好自己的admin用户,就可以使用了。
参考: